
Introduction: The Allure of Homemade Apple Cider
There’s something magical about the scent of homemade apple cider wafting through your home as autumn settles in. This timeless beverage, steeped in history and cultural significance, has been enjoyed for centuries. From early colonial America to the bustling cider houses of Europe, apple cider has woven itself into the fabric of community gatherings and seasonal celebrations. But homemade apple cider is more than just a drink; it’s a sensory experience that evokes deep feelings of nostalgia. The rich, sweet aroma of apple orchards, the crisp taste of freshly pressed juice, and the warmth of shared moments with loved ones create an enchanting atmosphere that can’t be replicated by store-bought varieties.
In this article, we’ll take a deep dive into the art of crafting irresistible homemade apple cider delights. We’ll explore the heart of your cider—apples themselves—before discussing the essential tools you’ll need. Then, we’ll walk through the pressing and fermentation processes, share flavoring tips for customization, and touch on the best practices for bottling and aging your creations. Finally, we’ll offer creative serving suggestions and ideas for sharing your cider with family and friends. By the end, you’ll be well-equipped to embark on your own cider-making journey, embracing both tradition and creativity.
“Creating a cozy reading nook is all about maximizing comfort in a small space. It’s about intentional design that serves both function and feeling.”
– Interior Design Magazine
Understanding Apples: The Heart of Your Cider
When it comes to crafting exceptional homemade apple cider, the apples you choose are paramount. Not all apples are created equal, and understanding the various apple varieties can greatly enhance your cider’s flavor profile. Apples can be categorized into three main types: sweet, tart, and bitter. Sweet varieties, like Fuji and Honeycrisp, provide a delightful base, while tart apples, such as Granny Smith and McIntosh, add a refreshing zing. Bitter apples, like the Kingston Black, are often used in blends to achieve a balanced finish.
Another crucial factor in apple selection is seasonality and locality. Fresh, in-season apples not only taste better but also carry the essence of their growing region. Visiting local orchards or farmers’ markets allows you to select the freshest apples while supporting your community. When shopping, look for apples that are firm, free of blemishes, and vibrant in color.
Balancing acidity and sweetness is key to achieving a harmonious cider. Generally, a good cider features a mix of sweet and tart apples to create layers of flavor. Consider using the following table for guidance on popular apple varieties and their flavor profiles:
| Apple Variety | Flavor Profile | Usage |
|---|---|---|
| Granny Smith | Tart, Crisp | Base for acidity |
| Fuji | Sweet, Juicy | Primary sweetness |
| Honeycrisp | Sweet, Balanced | General use |
| McIntosh | Soft, Tangy | Blending |
| Kingston Black | Bitter, Rich | Adding complexity |
Taking the time to understand these varieties will allow you to create a cider that is uniquely yours, bursting with flavor and character.
Essential Tools and Equipment for Crafting Cider
Crafting homemade apple cider requires specific tools, but you don’t need to break the bank to get started. At its core, the essential equipment for cider-making includes a good quality apple press, a fermenter (which can be as simple as a food-grade bucket), and bottles for storage. If you’re just starting, consider borrowing or renting equipment from local cider-making communities to test the waters.
If investing in a press seems daunting, there are alternative methods to extract juice from apples. You can use a blender to puree the apples and then strain the mixture through a fine mesh bag or cheesecloth, which can be a more budget-friendly option.
Hygiene is crucial in cider-making. Always ensure your equipment is sanitized to prevent unwanted bacteria from spoiling your cider. Here are some optional tools that can enhance your cider-making experience:
- Hydrometer: For measuring sugar levels and potential alcohol content.
- Thermometer: To monitor fermentation temperatures.
- Airlock: To allow gases from fermentation to escape while preventing contaminants.
- Cider bottles: Choose dark glass bottles to protect your cider from light damage.
Having the right tools not only streamlines the cider-making process but also adds to the enjoyment of the craft.
The Art of Pressing: Extracting Juice from Apples
Once you have your apples selected and your equipment ready, it’s time to extract that delicious juice. Start by washing your apples thoroughly to remove any dirt or pesticides. Cut them into quarters, removing any bad spots, but there’s no need to peel or core them—this will help retain the flavors and nutrients.
Next, it’s time to press your apples. If you have a traditional apple press, follow the manufacturer’s instructions for use. If you’re using a blender, puree the quartered apples and then pour the mixture into a fine mesh bag, squeezing out as much juice as possible. Remember, the goal is to maximize juice yield, so don’t rush this process.
Common mistakes include over-pressing or under-prepping your apples. Over-pressing can lead to unwanted astringent flavors, while under-prepping can leave you with a lower juice yield.
Once you have your juice, store it in a cool place, ideally in airtight containers, to preserve its freshness. Freshly pressed juice can be refrigerated for up to one week before fermentation begins.
Fermentation Fundamentals: Transforming Juice into Cider
Fermentation is where the magic truly happens, transforming your apple juice into hard cider. During this process, yeast converts the sugars in the juice into alcohol and carbon dioxide. Understanding the fermentation process is crucial for achieving the desired flavor and aroma in your cider.
There are various types of yeast you can use, each imparting different characteristics to your cider. For example, champagne yeast creates a crisp, clean finish, while ale yeast can offer more fruity and estery notes. Selecting the right yeast for your style of cider is an essential step in the process.
Fermentation timelines can vary widely depending on several factors, including temperature, yeast strain, and sugar content. Generally, primary fermentation can take anywhere from one to three weeks. During this time, you’ll notice bubbling in your fermenter, which is a sign that fermentation is actively taking place.
If you encounter common fermentation issues, such as slow fermentation or off-flavors, troubleshooting is key. Check the temperature, ensure your yeast is healthy, and make sure your fermentation vessel is adequately sealed.
Flavoring Your Cider: Adding a Personal Touch
Once fermentation is complete, you can begin to explore ways to personalize your cider. Flavoring your cider can elevate its profile and make it truly unique. Popular spices include cinnamon, cloves, and nutmeg, which can add warmth and depth to your cider.
You can also experiment with natural additives such as other fruits, honey, or even herbs. Consider the flavor balance: if you add something sweet, you may want to counter it with a touch of tartness to ensure the apple flavor remains dominant.
Creating a blend of different apple varieties can also yield exceptional results. For example, mixing sweeter apples with tart varieties can create a more complex flavor experience. Don’t be afraid to experiment; the cider-making process is as much about personal preference as it is about tradition.
To help you visualize some popular flavoring ideas, here’s a simple table:
| Flavoring Agent | Flavor Profile | Recommended Usage |
|---|---|---|
| Cinnamon | Warm, Spicy | 1-2 sticks during fermentation |
| Cloves | Earthy, Aromatic | 1-2 whole cloves, sparingly |
| Honey | Sweet, Floral | Added post-fermentation for sweetness |
| Ginger | Spicy, Zesty | Fresh ginger slices during fermentation |
By adding your own twist, you can create a cider that reflects your personality and tastes, making it a true delight to share with others.
Bottling and Aging: Perfecting Your Cider
Once you’ve flavored your cider to your liking, it’s time for bottling. This step is crucial and should be done with care to ensure the quality of your cider. Start by sanitizing your bottles and caps to prevent contamination. If you’re using a siphon, carefully transfer your cider from the fermenter to the bottles, leaving a little space at the top for carbon dioxide to escape.
Aging is another critical aspect of cider-making. This process allows flavors to meld and develop, resulting in a more rounded and complex taste. Generally, cider can be aged for anywhere from a few weeks to several months. Store your bottles in a cool, dark place, ideally at a consistent temperature.
You’ll know your cider is ready to enjoy when it has a clear appearance and a balanced flavor profile. Take the time to taste and evaluate your creation—this is part of the joy of cider-making.
Creative Ways to Enjoy and Serve Apple Cider Delights
Now that your cider is ready, let’s explore some creative ways to enjoy it. Pairing cider with food can enhance both the meal and the drink. For instance, crisp apple cider pairs beautifully with roasted meats, cheeses, and autumn-inspired dishes like butternut squash soup.
If you’re looking to elevate your cider experience, consider crafting cider cocktails. A simple cider mule, combining cider, vodka, and ginger beer, makes for a refreshing drink. You can also create festive beverages for gatherings, like a warm spiced cider with rum and cloves.
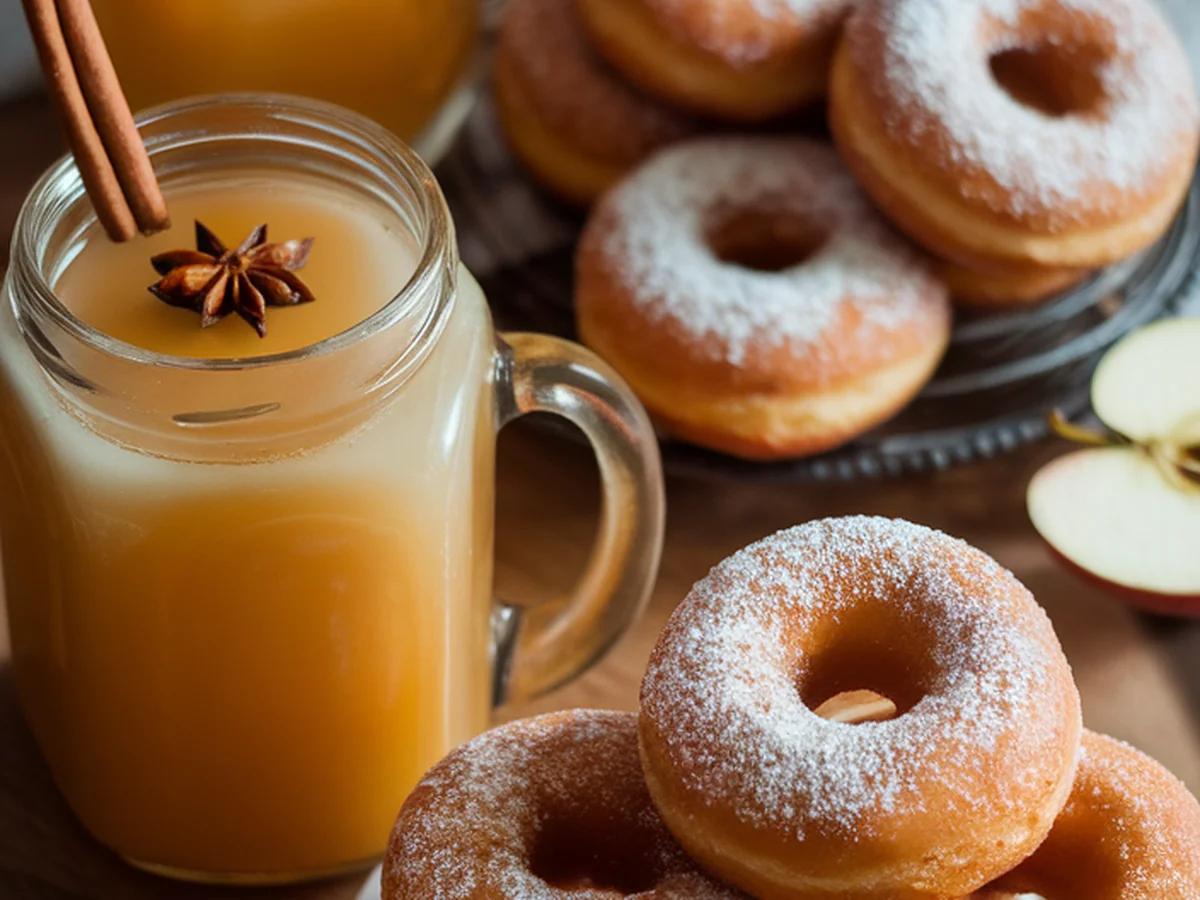
For gatherings, think about unique serving ideas. Serve cider in mason jars for a rustic touch, or create a cider bar with various flavorings and mixers for guests to customize their drinks. You can also repurpose any leftover cider into delightful recipes like cider donuts or braised dishes, ensuring nothing goes to waste.
Sharing Your Cider: Building a Community Around Your Craft
Cider-making can be a solitary endeavor, but it’s also an opportunity to build community. Encourage friends and family to join you in the process—cider-making can be a fun group activity. Host cider tastings where everyone can bring their creations, share tips, and enjoy the fruits of their labor together.
Engaging with local cider-making communities or clubs can provide valuable resources and support. These groups often hold events, workshops, and competitions that can enhance your skills and expand your network.
Don’t forget to document your cider-making adventures! Share your process, successes, and even failures online, creating a digital scrapbook of your journey. Connecting with others through social media platforms or dedicated cider-making forums can inspire new ideas and foster friendships.
Conclusion: Embracing the Craft of Homemade Apple Cider
From selecting the perfect apples to bottling and sharing your creations, the journey of crafting homemade apple cider is one filled with exploration and joy. As you dive into this delightful craft, remember that experimentation is key. Each batch offers an opportunity to discover new flavors, techniques, and personal preferences.
The act of sharing your homemade cider with loved ones adds another layer of fulfillment. It’s about creating memories, fostering connections, and celebrating the beauty of tradition. As you embrace the art of cider-making, you’re not only preserving a cherished craft but also infusing it with your unique spirit and creativity.
Now, grab those apples, gather your friends, and start your cider-making adventure. Cheers to the irresistible delights of homemade apple cider!
Frequently Asked Questions
What type of apples are best for making cider?
The best apples for cider-making are typically a blend of sweet, tart, and bitter varieties. Sweet apples like Fuji and Honeycrisp provide a delightful base, while tart options like Granny Smith add acidity. Bitter apples, such as Kingston Black, can enhance flavor complexity. Experimenting with different combinations will yield unique results.
How long does the fermentation process take?
Fermentation time can vary widely, but generally, primary fermentation lasts between one to three weeks. Factors such as temperature, yeast type, and sugar content all influence the duration. It’s essential to monitor the fermentation process and taste periodically to determine when it’s ready for bottling.
Can I use store-bought apple juice for cider?
While you can use store-bought juice, it’s best to select 100% pure, unfiltered apple juice without preservatives, which can inhibit fermentation. However, using fresh, locally sourced apples tends to yield more flavorful and vibrant cider, as it captures the true essence of the fruit.
What is the best way to store homemade cider?
Homemade cider should be stored in a cool, dark place, ideally in a consistent temperature environment. Bottles should be kept upright to avoid contact between the cider and the cork or cap. For optimal flavor, consider aging your cider anywhere from a few weeks to several months before enjoying.
Can I add spices or flavors during fermentation?
Yes, adding spices or flavors during the fermentation process is a great way to enhance your cider. Popular options include cinnamon, cloves, and ginger. Just be mindful of balance; start with small amounts and adjust according to your taste preferences. You can always experiment with different blends for unique results.