
Introduction
Spring is a season of renewal, where the world bursts into a riot of colors, awakening with vibrant blooms and lush greenery. As nature rejuvenates, many embrace this change by refreshing their looks, and what better way to do that than with a charming set of spring-themed nail art? The growing trend of DIY nail art allows you to express your creativity right at home, transforming your nails into a canvas that reflects the beauty of the season.
Creating your own nail designs not only fosters a sense of accomplishment but also saves you money and time spent at salons. Plus, the joy of experimenting with different styles and techniques means you can tailor your nail art to suit your mood or occasion. In this article, we’ll explore a variety of delightful spring nail art ideas, including nature-inspired designs, pastel palettes, geometric patterns, seasonal themes, and textured techniques, all of which you can easily recreate at home.
“Creating a cozy reading nook is all about maximizing comfort in a small space. It’s about intentional design that serves both function and feeling.”
– Interior Design Magazine
Nature-Inspired Floral Designs
Daisy Delight
Daisies are synonymous with spring, and they make for a cheerful nail art design that’s simple yet striking. To create a lovely daisy design, you’ll need a dotting tool or a toothpick and two colors of nail polish—one for the base and one for the petals. Start by painting your nails a fresh shade of green or soft blue. Once dry, dip your dotting tool in white polish and gently press it onto the nail to form the petals. You can add a tiny yellow dot in the center of each flower for a pop of color.
When it comes to placement, consider varying the sizes and orientations of the daisies across your nails for a whimsical effect. Tip: For an added depth, you can use a light hand to brush over the edges of the petals with a light pink or lavender hue. This gives your daisies a more realistic appearance.
Cherry Blossom Bliss
Cherry blossoms are another iconic symbol of spring, representing beauty and the fleeting nature of life. To capture this essence on your nails, start with a pale pink base coat. Once that’s dry, use a fine brush to create small branches with a brown polish. For the blossoms, dot the ends of the branches with a light pink or white polish to form delicate flowers.
For an even softer effect, you can use a makeup sponge to gently dab on the blossoms for a more blended look. Once you’re satisfied with your design, don’t forget to seal it with a glossy top coat for an eye-catching shine and longevity.
Leafy Greens
Spring is all about the lush greens that sprout everywhere, making leafy nail designs a perfect fit. To create these designs, you can use freehand painting or stamping techniques. Start with a base coat of soft cream or pastel color, then use a thin nail art brush or a dotting tool to create leaf shapes with a vibrant green polish.
You can mix different shades of green for a more dynamic look, using darker shades for the base of the leaves and lighter shades for highlights. Consider making one or two accent nails featuring a more intricate leaf pattern, while keeping the rest of your nails simple. This contrast can elevate your overall nail art.
Pastel Color Palettes
Soft Ombre Effect
The soft ombre effect is a trendy way to incorporate multiple colors into your spring nail art. To achieve this look, select two or three pastel shades that complement each other, such as lavender, mint green, and baby blue. Start with a base coat in the lightest color.
Using a makeup sponge, apply a small amount of each color side by side on the sponge, then dab it onto your nail, working from the tip to the cuticle. This technique creates a beautiful gradient effect. For a smooth transition, you may need to repeat the dabbing process a few times. Finish with a top coat to seal in your design and enhance the colors.
Polka Dot Fun
Polka dots are timeless, and when done in pastel shades, they perfectly embody the essence of spring. Choose a few pastel nail polishes—think soft pink, light yellow, and baby blue. After applying a base coat, use a dotting tool to create dots on your nails. You can experiment with different sizes of dots for added interest.
To make your design pop, consider alternating colors on each nail or even combining different dot styles. This playful approach makes for a cheerful, eye-catching nail look that’s perfect for any spring outing.
Candy Stripes
Candy stripes bring a sweet and playful vibe to your spring nail art. To create this look, start by painting your nails with a light pastel base coat. Once dry, you can use striping tape to achieve clean lines. Place the tape diagonally or vertically on your nails, then paint over it with a contrasting pastel color.
After the polish dries, carefully peel off the tape to reveal your crisp lines. You can mix and match colors for a fun candy-inspired design or stick to a monochromatic approach for a more sophisticated look. This technique is not only visually appealing but also easy to achieve for nail art beginners.
Geometric Patterns
Triangle Tips
Triangle tips are an edgy yet simple way to add a geometric flair to your nails. Start by applying a base coat in a light or neutral color. Then, use striping tape to create a triangular shape at the tips of your nails. Paint over the exposed area with a bold color, and once it dries, carefully remove the tape to reveal the clean triangle design.
For a contrasting look, consider using a dark color for the triangle against a soft base. You can also experiment with different triangle sizes or even create multiple triangles for a more intricate design.
Chevron Chic
Chevron patterns are trendy and can be a fun challenge for nail art enthusiasts. Begin with a base coat of your choice. To create the chevron pattern, use striping tape to form V shapes at the tip of your nails. Paint the exposed areas with vibrant colors that will stand out against your base.
Precision is key, so take your time when applying the tape. Once the polish is dry, peel off the tape gently to avoid smudging. This design can be particularly striking with bold contrasting colors, making it perfect for a spring celebration.
Negative Space Designs
Negative space nail art incorporates the natural nail into the design, offering a modern twist. Start with a clear base coat or a soft nude polish. You can draw geometric shapes, such as squares or lines, using a fine brush or striping tape. The areas you leave unpainted will showcase your natural nail, creating a stunning visual contrast.
This technique is not only chic but also easy to maintain, as it allows for less chipping. For added flair, you can use metallic or glitter polish in the painted sections to bring a touch of glam to your negative space design.
Seasonal Themes
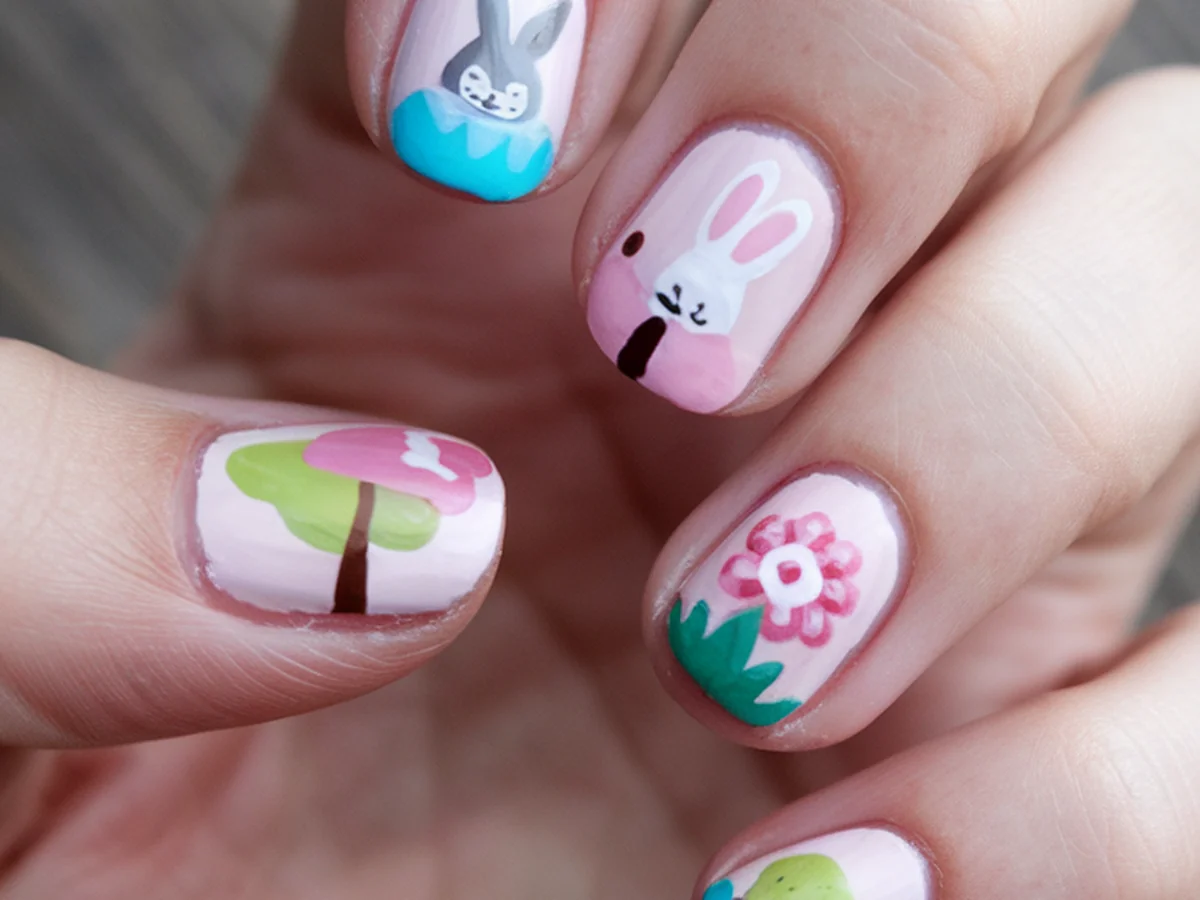
Bunny Ears and Eggs
With Easter approaching, bunny ears and egg designs are perfect for getting into the festive spirit. Start by painting your nails in soft pastel colors as a base. For the bunny design, use a white polish to create an oval shape for the bunny’s face, adding two long ears at the top. Use a fine brush to paint little eyes and a nose with black and pink polishes.
For the eggs, you can create various patterns like stripes, dots, or even floral designs on different nails. Adding a bit of glitter to the eggs can create a lovely sparkly effect, making your nails truly festive and fun.
Rainy Day Nails
Capture the essence of spring showers with rain-themed nails. Start with a soft blue base coat to mimic the sky. Once dry, use a fine brush to create raindrop shapes using darker blue or silver polishes. You can also add small, fluffy clouds at the base of the nails using white polish.
For an added touch, sprinkle some glitter over the drops to represent glistening rain. This thematic design not only celebrates spring but also gives a whimsical nod to those rainy days that often accompany the season.
Textured Techniques
Matte Finish
A matte finish can give your nail art a chic and sophisticated look. To achieve this effect, start with a regular polish, and once it’s dry, apply a matte topcoat. The matte finish works wonderfully with spring colors, giving them a unique twist.
When selecting colors, consider soft pastels or bold, vibrant shades that will stand out without the shine. The contrast between matte and glossy accents can also add depth to your design; you might consider using gloss for a few accent nails to create visual interest.
Glitter and Sparkle
Incorporating glitter into your nail art can elevate any design, making it perfect for spring celebrations. Begin with a base coat of your choice, and once dry, apply a layer of glitter polish. For an even application, dab the glitter onto your nails rather than brushing it on, which can help avoid clumping.
Consider strategic placement of glitter—perhaps just at the tips or in a gradient effect, fading from glittery at the tips to a solid color at the cuticle. This technique creates a stunning, eye-catching look that’s perfect for special occasions or just to add a bit of sparkle to your everyday wear.
Easy Tools and Materials for Nail Art
Essential Nail Art Tools
Having the right tools can significantly enhance your nail art experience. Here’s a quick overview of must-have tools:
| Tool | Purpose | Alternative |
|---|---|---|
| Dotting Tool | Create dots and intricate designs | Toothpick or bobby pin |
| Nail Art Brush | For detailed painting | Old eyeliner or paintbrush |
| Striping Tape | For clean lines and geometric designs | Masking tape |
These tools will make it easier for you to achieve professional-looking designs at home.
Choosing the Right Nail Polish
When it comes to nail art, quality matters. Look for nail polishes that are highly pigmented and have a good consistency for easy application. A good base coat is essential for protecting your nails, while a topcoat will seal your design and add shine or a matte finish as desired.
Consider investing in polishes that are free from harmful chemicals like formaldehyde and toluene. Brands known for their quality include OPI, Essie, and Sally Hansen, which offer a wide range of colors suitable for all your spring nail art needs.
Nail Art Kits vs. Individual Supplies
If you’re just starting with nail art, you might wonder whether to buy a kit or individual supplies. Nail art kits often provide a variety of tools and polishes at a lower cost, which can be great for beginners. However, purchasing individual supplies allows you to curate your collection based on your preferences and needs.
In the long run, consider what you use the most and invest in those items. Quality supplies can make a significant difference in your nail art results, so choose wisely.
Troubleshooting Common Nail Art Problems
Bubbles in Polish
Bubbles in nail polish can be frustrating, but they often occur due to shaking the bottle too vigorously or applying the polish too thickly. To avoid bubbles, gently roll the polish bottle between your hands before use. When applying, use thin layers, allowing each coat to dry completely before adding another.
If you do end up with bubbles, you can try smoothing them out with a fine brush or by applying a topcoat, which can sometimes mask the imperfections.
Uneven Application
Achieving a smooth finish can be challenging, especially for beginners. To avoid uneven application, make sure your brush is not overloaded with polish. Start from the base of the nail and work your way to the tip in smooth, even strokes.
If you find that one coat isn’t enough, allow it to dry fully before applying additional layers. Using a good quality base coat can also help create a smoother surface for your polish.
Chipping and Peeling
Chipping and peeling can be disheartening after all your hard work. To prolong the life of your nail art, always start with a base coat and finish with a high-quality topcoat. Make sure to apply the topcoat over the edge of your nails to seal the polish.
To fix minor chips quickly, you can dab a small amount of polish over the chip and seal it with a topcoat. Additionally, avoid using your nails as tools to minimize wear and tear.
Conclusion
Creating DIY nail art at home is a delightful way to embrace the colors and themes of spring. From nature-inspired floral designs to playful pastel palettes and trendy geometric patterns, the possibilities are endless. Not only do you get to showcase your creativity, but you also have the chance to enjoy the process of crafting unique designs that reflect your personality and style.
So, gather your tools, pick your favorite designs, and let your nails become a canvas for your imagination. Whether you’re preparing for a special occasion or just want to brighten up your everyday look, these charming spring nail art ideas will inspire you to experiment and express yourself. Happy painting!
Frequently Asked Questions
What are the best nail polishes for beginners?
For beginners, it’s best to choose nail polishes that are easy to apply and have good coverage. Brands like Essie, OPI, and Sally Hansen offer user-friendly formulas. Look for polishes labeled as “one-coat” or “quick-dry,” as these will help you achieve a professional look without the need for multiple layers. Additionally, consider using a base coat and topcoat to enhance the durability of your designs.
How can I make my nail art last longer?
To extend the life of your nail art, always start with a base coat to protect your nails and provide a smooth surface. After applying your design, seal it with a topcoat to add shine and durability. Avoid using your nails as tools, and consider wearing gloves when doing household chores. Regular touch-ups and managing the length of your nails can also prevent chipping and peeling.
Can I do nail art without special tools?
Absolutely! While specialized tools can make the process easier, you can create beautiful nail art using everyday items. For example, a toothpick can serve as a dotting tool, and a bobby pin can be used for creating swirls or dots. Striping tape can be replaced with regular tape, and you can use makeup sponges for blending colors. Get creative with what you have!
How do I remove nail art without damaging my nails?
To remove nail art safely, soak a cotton ball in acetone-based nail polish remover and press it onto your nail for about 10-15 seconds. This allows the remover to break down the polish effectively. Gently wipe the polish off, being careful not to scrub or pull at your nails. After removal, wash your hands and apply cuticle oil to keep your nails moisturized.
What are some quick designs I can try for a last-minute event?
For last-minute nail art, consider simple designs like polka dots, stripes, or a solid color with an accent nail featuring a glitter or metallic polish. Using nail stickers or decals can also save you time while adding flair. If you need to rush, a quick ombre effect using a makeup sponge can be both stylish and easy.